Give each project its own icon so you can spot it at a glance in the sidebar, in your tasks, and in search. Pick an icon and a project color from one menu. Everyone in a shared project sees the same icon. Project icons are available on every Todoist plan.
Change a project icon
- Open the project.
- Click the project icon next to the project name at the top.
- Select an icon. To find one faster, type a word like “travel” or “home” in the Search icons field.
- Select a color below the icons.
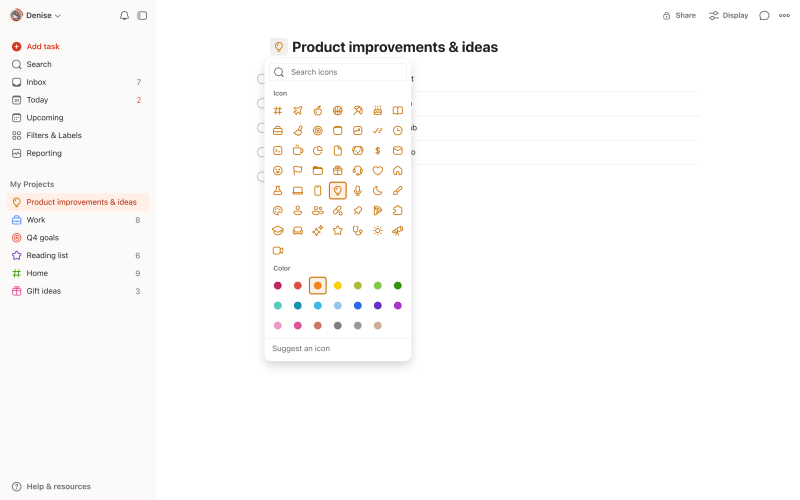
Todoist saves your changes as soon as you select them.
- Open the project.
- Tap the three dots icon at the top-right.
- Tap Edit.
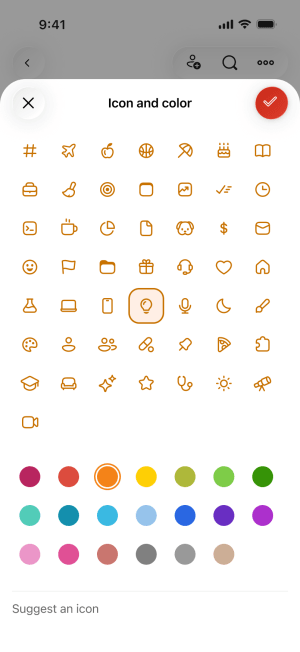
- Tap the project icon next to the project name.
- Select an icon.
- Select a color below the icons.
Tap the checkmark icon at the top-right of the Icon and color sheet.
- Tap the checkmark icon at the top-right to save the project.
請注意
- Open the project.
- Tap the three dots icon at the top-right.
- Tap Edit.
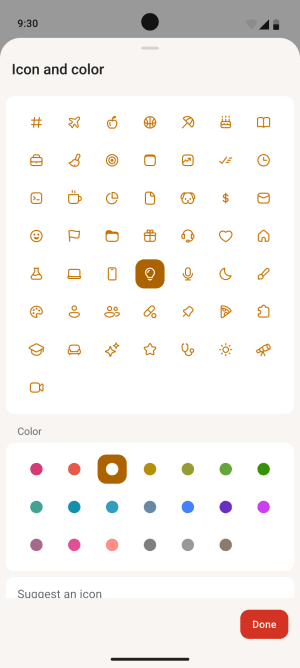
- Tap the project icon next to the project name.
- Select an icon.
- Select a color below the icons.
Tap Done at the bottom of the Icon and color sheet.
- Tap the checkmark icon at the top-right to save the project.
請注意
Go back to the default icon
- Open the icon and color menu with the steps above.
- Select the # icon at the start of the list.
On Web and desktop, Todoist saves the change right away. On iOS and Android, save it with the last two steps above. Your project keeps its color.
Suggest a new icon
Can’t find the icon you need? Click or tap Suggest an icon at the bottom of the icon list, and tell us what’s missing.
請注意
Get in touch
If you’re having trouble changing a project icon, get in touch with us.