Todoist è il task manager più apprezzato al mondo per organizzare la tua vita e il tuo lavoro. Scopri di più
Have you ever saved something to reference later but forgotten where you stored it? Or felt overwhelmed by everything you need to organize? Perhaps you’ve thought, “I should create a better system for storing and finding my files, tasks, and projects.”
You’re not alone. Information overload has been a workplace (and personal!) problem for more than a decade. The worst part? It’s only growing.
Tiago Forte saw it coming. So, he developed the PARA method – a digital organization system that helps you organize your tasks, ideas, and resources in a simple way. The best part? It’s easy to implement and flexible to mould according to your needs.
In this article, I’ll explain the PARA method's details, origin, and benefits, and show you how to implement it in Todoist.
What is the PARA method?
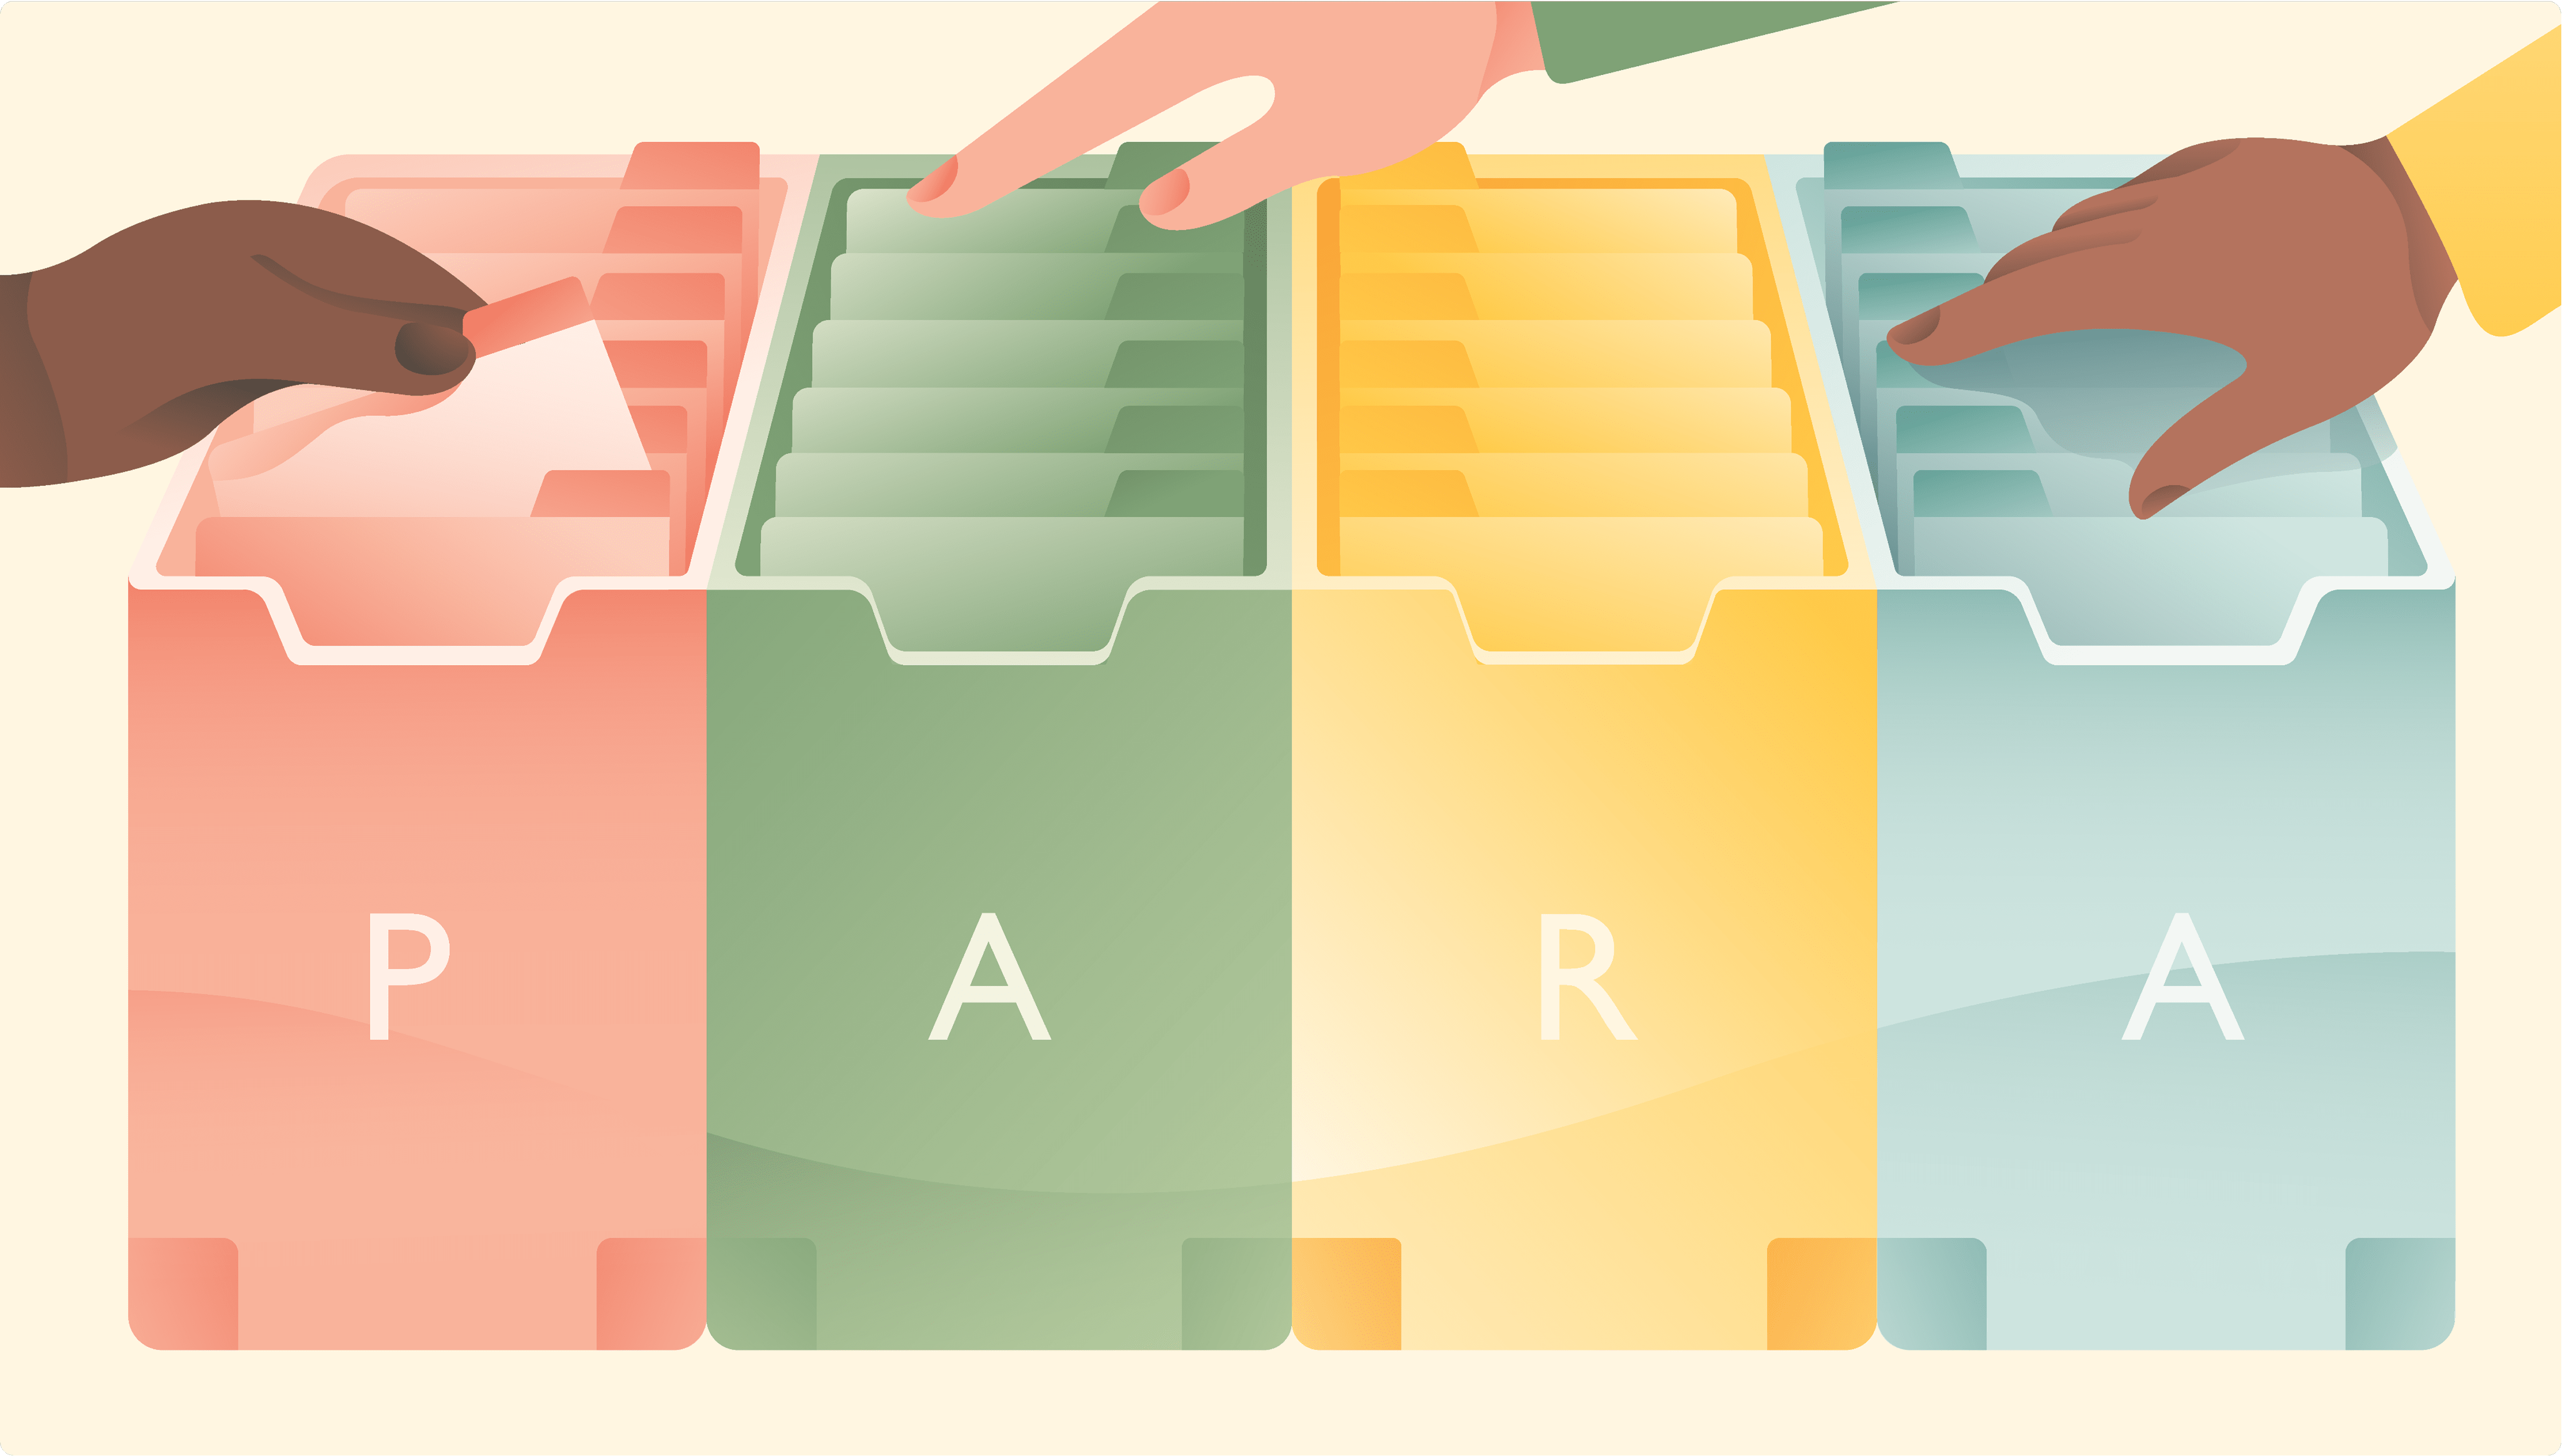
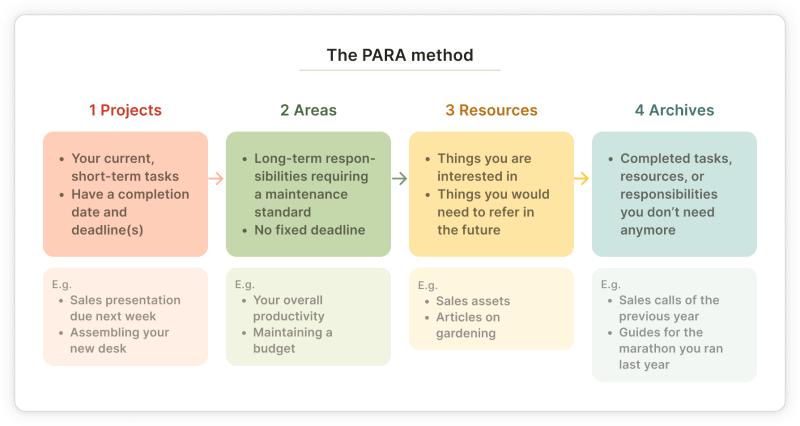
Put simply, the PARA method is a system to organize your digital life with its abundance of apps, platforms, and websites (although you can use the principles with your physical files, too). Here’s what the acronym stands for:
Projects: These are the current tasks you’re working on. Projects are for the short-term and have a clear deadline or foreseeable completion date. For example, your sales presentation tomorrow is a project you need to work on.
Areas: Zoom out a little bit, and you’ll see the large pieces of your life that keep things in motion. These are long-term responsibilities that require continual maintenance with no end in sight. Your health, family, travel, and productivity would be the “areas” in the PARA method.
Resources: These are the things you read or come across and would want to save for the future. It can be work-related – like a sales tactic you’d like to experiment with – or personal – like your hobbies.
Archives: This one’s self-explanatory. Archives are anything from the above three categories you don’t need anymore – but might need in the future. For example, if you were working on a house renovation project in a place you no longer live in, that project can move into the archive folder.
The goal is to organize your entire life into four folders to reduce your overwhelm and find what you need when you search for it without scrambling.
Many people often get hung up on the difference between a project and an area and struggle to categorize their information or ideas.
The first solution to this is to follow your gut. Don’t overthink it – trust your intuition. The aim isn’t to categorize everything perfectly, but to organize everything you need in an actionable, easy-to-maintain-way.
That said, I know this answer isn’t always easy to digest. So, here’s a flowchart to guide you in making the right choice:

Tiago Forte created the PARA method as a part of his larger project, Building A Second Brain. There’s a whole book dedicated to the PARA method if you get inclined to dive even deeper into this system.
Should you go PARA (and never go back)? 3 Benefits of the PARA Method
I hear the groans. “Ugh. Do I need yet another system to organize my life better?”
If your existing method is working efficiently – helping you store and categorize everything in that big brain – then great! But if you often find yourself anxious, scrambling to get things done, hunting for that one file you were sure you saved, it’s worth considering adding the PARA method to your life. Here are the top three benefits you’ll see almost immediately:
1: You’ll experience less mental load and decision fatigue
You consume a lot of information in a day. And your brain pops nearly a gazillion ideas, too. Without an organization system like the PARA method in place, you’ll lose all those gems.
With the PARA method, you’ll take the load off your shoulders. You won’t stay up past your bedtime tallying everything you have to “remember” because you didn’t store and categorize it anywhere.
And you wouldn’t have to decide, “Where do I put this so I can find it when I need it?” about any note, file, or piece of information because you’ve already set up a system with four possible options.
2: You’ll find what you need, when you need it
How many times have you thought, “I’ll just remember it!” and forgotten something important? Or needed to refer to something and thought, “I know I saved that somewhere...” and never found the resource again? Been there, done that (too many times).
The PARA method ensures you keep your brain organized so you can find exactly what you need whenever you need it. You won’t have to rummage around a messy (digital) drawer to find what you’re looking for. All you have to do is search for it within one of the four folders.
3: Your productivity and focus will improve
The PARA method is a way to organize your life – you’ll know the most important priorities of your life (areas), the things you need to actively work on & when (projects), and have a catch-all folder for anything else you need (resources). Imagine the level of clarity you’ll gain once you’ve set up your life using the PARA system over a long period of time.
And having this clarity and focus will allow your productivity to soar and your creativity to shine. Instead of spending your time deciding, finding, or organizing, you’ll spend your time getting things done.
How to set up and implement the PARA system with Todoist in 5 steps
The core philosophy behind the PARA method is to have the same organizational system everywhere – in your cloud files, note-taking apps, and task management software. This makes it easy for you to find what you’re looking for and reduces the mental load of creating a new organizational system for different apps and software.
This section will share how you can use the PARA method to organize your (never-ending) to-do list in Todoist.
Step 1: List down every task that’s on your mind
The first step is to list everything you’re currently working on. You can work on categorizing them into projects, areas, resources, and archives later. Just open Todoist and start noting down everything in the Inbox. Put everything that comes to mind without leaving anything out.

I’d also advise checking your email, calendar, to-do list app, and collaboration software to ensure you aren’t missing adding anything crucial. Maybe you notice you forgot to add an ongoing client issue to your list. This brainstorming session will help you clear your head and lay everything you need to work on in front of you.
Step 2: Categorize your tasks to fit the PARA method
Once you’ve added everything in Todoist, add three projects in Todoist for your projects, areas, and resources:
How do you decide which task goes into which section?
If the task has a definite goal and completion date, it’s a project
If the task requires ongoing commitment with no deadline, it’s an area
If the task is an article, book, video, etc., you’d like to watch or refer to, it’s a resource
Let’s say you’ve written down the following tasks:
Dog training
Building an exercise routine
Referring to your notes on a business book to improve a specific skill
Dog training is something you need to do, and it has an end in sight – it will be done one day. So, it’s a project. But building an exercise routine is a forever thing. It won’t be over once and you’ll never have to do it again – it’s a lifetime commitment. So, it’s an area. And referring to a book for work is a resource because you might need to use your notes again.
Start moving the tasks from your Inbox folder into their designated folders within the PARA method.

Some of the tasks on your list might be what Forte calls “false projects.” These are either dreams with no deadlines (like learning a new language or instrument) or hobbies (like crocheting). You need to remove these from your organization system to improve your focus, prioritize, and reduce the overwhelm.
Forte advises having anywhere between 10–15 active projects at one time – including personal and professional domains. This ensures:
a) you don’t have too much on your plate at once – leading you to abandon the PARA system altogether
b) you have another project to work on if one project takes the backseat or needs a breather
Forte explains:
“I’ve found that around 10-15 projects seems to be the right range for most people. That’s enough that if you get stuck on one, you have multiple other options to turn to, instead of getting completely bogged down. It’s also few enough that you can see them all at a glance, and review and reflect on them on a weekly basis.”
Forte also classifies megaprojects under false projects. These are tasks that are so big that they need to be broken down into multiple sub-projects.
Think of things like revamping your website or renovating your house: These are too big to be just one project. Instead, you can break down “revamping your website” into “rewriting the About page” and “working on the UI” as two separate projects. Similarly, you can divide the “renovating your house” task into sub-projects based on various rooms.
Having megaprojects can make it overwhelming to begin and navigate your to-do list. If you’ve broken down a big project into smaller parts, they feel much more achievable and help you craft a clear path for your next steps.
What if you have more than 15 projects that you don’t want to delete? Put them in a “Future notes” folder if you don’t currently have the heart to let go of them.
💡 Related reading: How to Prioritize When There’s Always More To Do
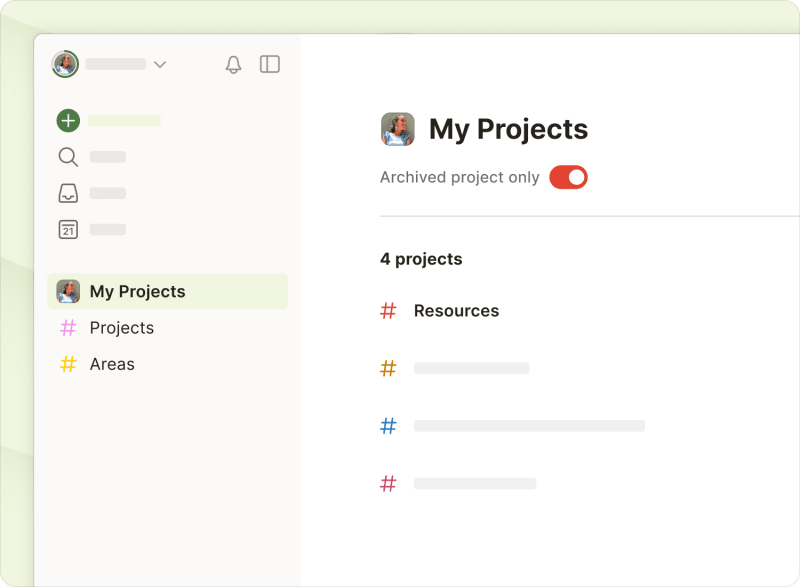
What about archives? When a project is done or you want to close it, Todoist allows you to archive it.

You can see these archived projects by clicking “Archived projects” under “My Projects.”
Step 3: Start adding specific tasks to your projects & areas
You can’t work on 10–15 projects simultaneously. Some might be more urgent than others, while others might be spread out over a few months.
First, you should create various “sections” within Todoist for each project. Let’s say two of your projects are writing an article about a topic and organizing your bookshelf. Here’s what the various tasks within each of those projects might look like:

Next, start assigning priorities and deadlines to each task. Remember projects in the PARA method are defined by the fact that they have a completion date. Assigning a deadline to each sub-task within a project will ensure you have set a timeline to finish each project you’ve decided to take on.

⚡ Pro-tip: Remember to assign priorities based on how your overall day and week looks — taking into account tasks from other projects and areas.
Now, let’s move on to areas. These are the ongoing tasks in your life that require you to maintain a standard. In Todoist, create sections for the various areas you’ve chosen – like Health, Finance, and Relationships.
Next, start assigning recurring tasks to them. For example, in the Health area, you might want to:
meal prep every Sunday
go to the gym every Monday, Wednesday, and Friday
get regular medical checkups done at the start of every quarter
Todoist lets you create recurring tasks simply by typing your desired frequency. For meal prepping every Sunday, all you have to do is type, “Meal prep every Sunday,” and a recurring task will be created. You’ll see it on your set frequency without adding it every week.

Once you’ve set up recurring tasks to maintain all the areas of your life, you’ll have a fine-looking board of your life rituals. These are the tasks you have to continually do at a consistent frequency – until you decide to erase the area altogether.

Step 4: Use labels and links to interlink everything
Labels in Todoist help you assign a specific tag to each task. You can use this method to collate various tasks within various PARA categories into one window.
Let’s say you have a Health area, a “run a 5K” project, and a resource about preparing for your first run. All these things are related, even though they belong in different PARA folders. When you assign a label to them, you can search for them easily in Todoist and get everything you need from all the folders in one place.

Pssst…you can quickly assign labels to your tasks by using “@” and adding your label name.
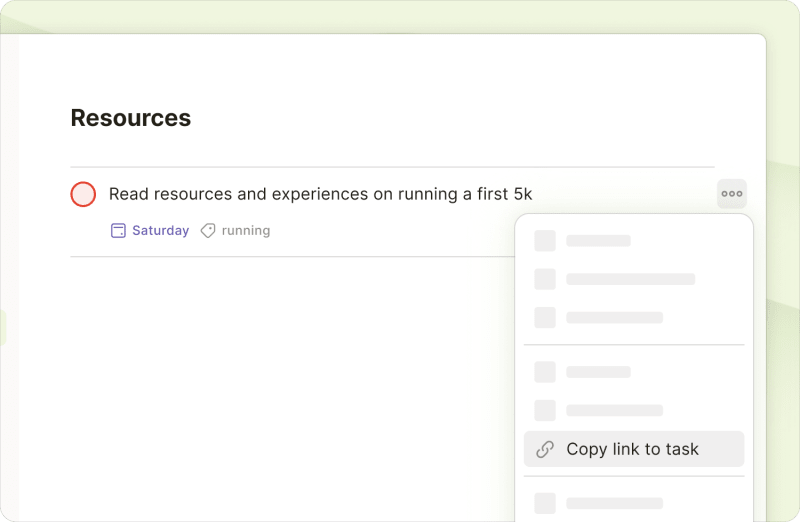
Similarly, you can also grab the link of a Todoist task within your resources and add them under task descriptions within projects.
Let’s say you collected running resources for a while and have finally taken “run a 5K” as a project. Now, you want to match your resources to specific project tasks. Easy-peasy: Just copy the link of the resource task and add it to the project task.
You can also do this by collecting resources for specific areas of your life and interlinking them to the right place. This way, you’ve made a carefully crafted web of interlinking tasks within your system. You’re setting yourself up for success because when you open a task, you have everything you need within it already.
Note: If you’ve chosen to store your Resources in a separate note-taking app, link those specific notes to Todoist to replicate the interlinking web. Forte recommends having the exact same projects and areas – including their names – across all your apps. This way, your priorities and life organization are clear and consistent, no matter what software you’re on.
Interlinking your projects, areas, and resources is optional. You don’t need to do it to implement the PARA method. It’s an ideal choice if you’d like to have one category linking to another, but they can function independently, too.
Step 5: Archive tasks that you have finished or discarded
The last step is tidying up your Todoist so you always have a clear idea of what you’re working on.
Archive a project when all tasks within it are complete or when you’ve chosen to outsource/discontinue the project
Archive an area when you’ve decided not to maintain a specific standard or do a set number of tasks in any department of your life
Archive a resource when you’re finished reading it and aren’t sure if you’ll use it or have simply lost interest in the subject
For example, let’s say you decided to learn Spanish in the new year and set up an Area for it. You had a three-month project to master the basics and various resources at your disposal. If you decide not to pursue this goal after your quarter-long project is complete, you can archive the whole area and its resources.
Remember that maintaining the system by archiving inactive projects, areas, and resources is just as important as taking action. Archiving means you don’t see incomplete or abandoned tasks that can derail your focus and motivation. It goes the other way, too: If you’ve decided to work on an archived project, remove it from there and put it under Projects.
Information should flow freely between the four components of PARA. When you’re using Todoist on the go and think of a task, add it to the Inbox folder and move on. Set aside 10 minutes every week to assign those tasks to the right folder.
Tiago also recommends doing a weekly review of your projects to check on their progress and doing the same thing for areas of your life on a monthly or quarterly basis:
“My weekly review is mostly focused on my projects, since they are actionable and moving forward on a weekly basis. On a longer timeframe, such as once a month or every couple of months, I also do a monthly or quarterly review to evaluate my work and life from a more elevated perspective.”
The ultimate goal of the PARA method is to spend less time organizing (without losing anything)
Tiago Forte created the PARA method because he wanted to build a system that’s simple, flexible, and ridiculously easy to maintain. Instead of grandiose setups that take forever to set up and are time-consuming to maintain, PARA’s goal is to minimize time spent “organizing” as much as possible.
Organizing your tasks, notes, and ideas often feels productive but it can also be an excuse for procrastination. With the PARA method, you can have everything you need organized in distinct folders without spending a lot of time and energy maintaining the system.
Want more advice on how to overcome procrastination? Learn about the top reasons we procrastinate and how to stop (for real).
Rochi Zalani
Rochi is a writer covering productivity, SaaS, and the freelance lifestyle.