With hundreds of tasks to complete, how do you know which one to tackle first? Enter priorities! Not all tasks are created with the same urgency, so priorities give you that visual signal to work on those important tasks right away.
Priority levels
You can assign one of four priorities to your tasks:
| Color | Priority level | Description |
|---|---|---|
| 🔴 | 1 | Most important, urgent, get it done ASAP |
| 🟠 | 2 | Important, schedule it |
| 🔵 | 3 | Less important, can work on it later |
| ⚪ | 4 | Least important, not urgent |
Carol · Customer Experience Specialist
When working in the Today or Upcoming view, your highest priority tasks will always appear near the top of the list, and below tasks with a date and time. This is so you’ll know exactly what to work on first.
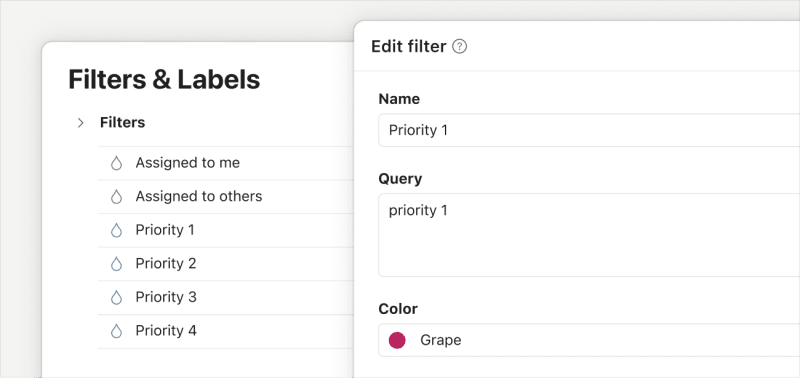
If you just want to see tasks of the same priority level across all your projects, click Filters & Labels on the sidebar and select a priority level filter. When you use these filters, you can review your tasks as a list, a board, or a calendar (calendar layout is only available to Todoist Pro and Business customers).
Set a priority
Let’s start by setting a priority to a task:
Use the task view
- Click a task. This opens the task view.
- Click Priority on the right sidebar. Priority 4 is selected by default.
- Select the priority level of the task.
Use keyboard shortcuts
To quickly set a task priority, use the keyboard shortcuts p1, p2, or p3 right into the task name field. Todoist automatically recognizes and assigns the priority level when you add the task to your project or view.
Use the task menu
- Open a project in Todoist.
- Click the three dots icon next to the task name. This opens the task menu.
- Select the priority level of the task from the Priority section.
Use the task view
- Tap a task. This opens the task view.
- Tap the Priority chip. Priority 4 is selected by default.
- Select the priority level of the task.
Use keyboard shortcuts
To quickly set a task priority, use the keyboard shortcuts p1, p2, or p3 right into the task name field. Todoist automatically recognizes and assigns the priority level when you add the task to your project or view.
Sort a project by priority
Stay focused on your most urgent tasks by sorting your project according to priority:
- Open the project or view you want to sort.
- Click the Display icon at the top-right.
- Click Sorting.
- Select Priority.
- Tap Browse at the bottom-right.
- Tap the project from the sidebar.
- Tap the Display icon.
- Tap Sorting.
- Select Priority.
- Tap Browse at the bottom-right.
- Tap the project from the sidebar.
- Tap the Display icon.
- Tap Sorting.
- Select Priority.
Marco · Customer Experience Specialist
Get in touch
If you're having trouble with setting priorities in Todoist, get in touch with us.