
A Quick(ish) Guide to Completing Any Project in Todoist
For big goals you need more than a to-do list. See how straightforward project management in Todoist can be and manage your project from idea to done.

A to-do list works fine when it's just you tracking errands and deadlines. But when the work involves a team, you need more than a list.
Maybe you're coordinating a product launch with three teammates, onboarding a new client across departments, or running a campaign with handoffs and dependencies. You need to know who's doing what, by when, and whether things are on track.
Todoist is a simple but powerful tool for managing this kind of work. It gives individuals and teams a shared space to organize projects, assign tasks, set deadlines, and track progress, all without the steep learning curve or complexity of enterprise project management software.
This guide is a step-by-step walkthrough of how to manage projects in Todoist, from creating your first one to closing it out. These steps assume the use of Todoist's team workspaces and the Business plan, although may also apply to personal projects and the Pro plan.
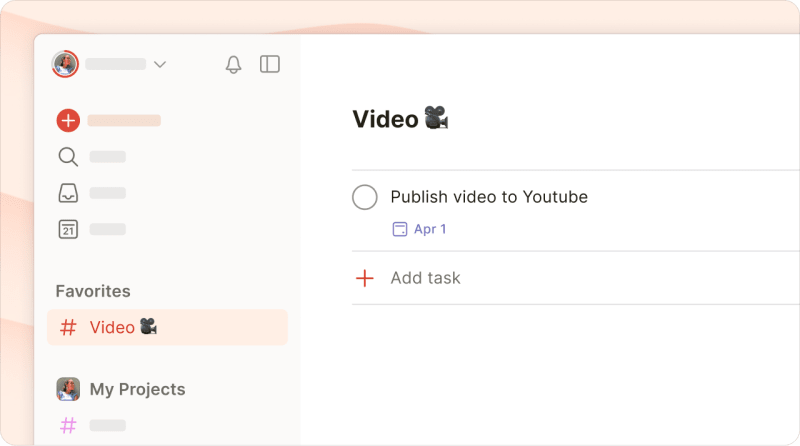
Step 1: Create a new project
Every project in Todoist is a dedicated space for tasks related to one goal. For example, you might have a project for "Q3 Product Launch" or "Client Onboarding: Acme Corp." Each one gets its own container, separate from your daily tasks and other work.
To create a project, click the + icon to the right of either My Projects or your team workspace. Then, select # Add project and give it a name.
To make the project stand out in your list, add an emoji to its name or give it a color. You can also drag and drop projects anywhere in My Projects or your team workspace. This way, you can quickly access your most important work at any time.
If you're on the Business plan, projects in your team workspace are visible to all team members by default, with no invitation needed. Anyone can browse and join the projects relevant to their work.
For sensitive projects (say, a hiring plan or budget review), you can make them restricted so only invited members have access. When creating the project, select Restricted in the Access menu. Then, invite the specific people who need to see it.
On the Business plan, you can also organize projects into folders, which becomes useful once your team is running several projects at once. Group them by department, client, or quarter. For example, an agency might have a "Client: Acme Corp" folder containing separate projects for onboarding, the website redesign, and the Q3 campaign.
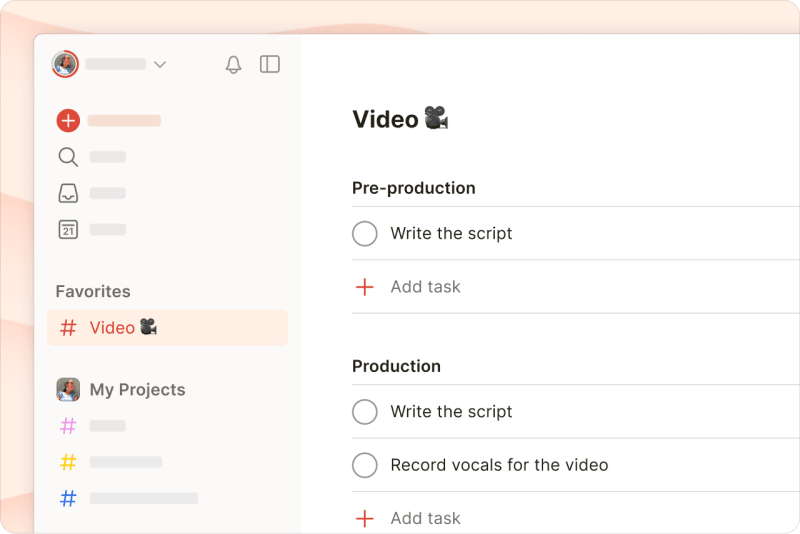
Step 2: Establish project phases
Project sections turn unstructured to-do lists into structured phases. This way, your team can see the full picture and work through phases in order.
For an agency client onboarding project, you might create:
Discovery: Kickoff meeting, stakeholder interviews, requirements gathering
Setup: Account provisioning, tool access, data migration
Training: Walkthrough sessions, documentation handoff, Q&A
Go-live: Final review, launch checklist, post-launch support
To add a section, open your project, click the three dots icon in the upper right, and select Add section. Name it, and then drag tasks into place.
There's no need to stop at one, though. You can add as many as 20 sections per project.
To see a visual overview of where tasks stand across phases, switch to theboard layout. Click the layout icon in the upper right corner and select Board.
Each section becomes a column, and you can drag tasks between them as work progresses. During team check-ins, a glance at the board shows what's in progress and what's stalled.
Step 3: Add project tasks
Before you organize or prioritize anything, get every task out of your head and into Todoist. There's a good reason to prioritize this step: theZeigarnik effect. Psychologist Bluma Zeigarnik demonstrated in the 1920s that incomplete tasks create a kind of cognitive tension, and your brain keeps cycling back to them, pulling focus from whatever you're trying to do right now.
In 2011, astudy by E.J. Masicampo and Roy Baumeister showed that writing tasks down and making a plan can relieve that mental burden, even if you don't act on them immediately. A thorough brain dump frees up mental resources for the work that matters.
Add all relevant tasks to your project so you can start mapping out the timeline. Focus on capturing the essential information, like the name or nature of the task, first, and add details later.
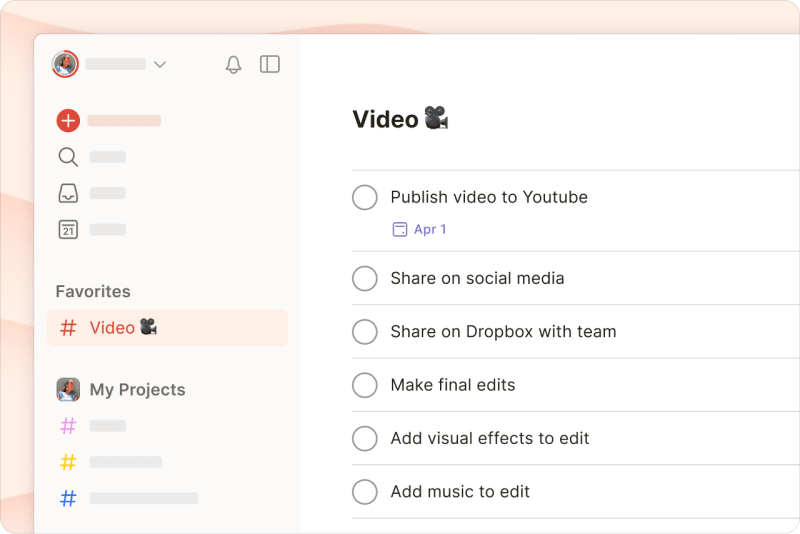
Todoist gives you two ways to capture tasks quickly.
Quick Add
Quick Add is the fastest route for typing. Open it by pressing the + Add task button on your Todoist dashboard or by hitting the Q keyboard shortcut. Then enter the task name and select the relevant project.
You can also use Quick Add to add multiple tasks at once. Copy, paste, and let Todoist create each individual task.
Ramble
Ramble lets you speak instead of type project tasks. Click the waveform icon in Quick Add or on the sidebar. Then talk through what needs to happen in each project.
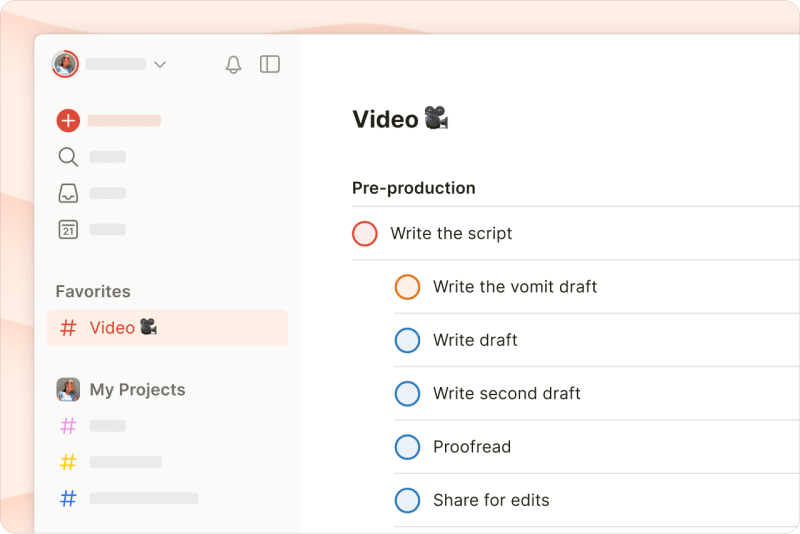
Step 4: Make work actionable with sub-tasks
Aim to make every task actionable: something you can complete in one step or over the course of a single day. Break down more involved tasks that require multiple steps or people into sub-tasks.
Under the parent task "Organize Q4 team offsite," for example, you might create these sub-tasks:
Research and book venue
Send calendar invites to all attendees
Plan agenda and breakout sessions
Arrange catering and A/V equipment
With sub-tasks, you can easily schedule, assign, and prioritize each individual step of a larger task without having to create a separate project for each one. This makes sub-tasks more manageable, whether you work solo or with a team.
To create a sub-task, open the task you want to break down and click Add sub-task. Input the name of the sub-task and save. You can always add details later.
Todoist Project Management: A good rule of thumb
Step 5: Insert task details
Once you've added tasks to a project, it's worth going back and filling in the details. After all, a task name tells your team what needs to happen, while the details tell them where and how to do it.
Descriptions
Descriptions sit just below the task name and are the right place for context like specifications, links to briefs, or notes about approach. For a task like "Draft blog post on product update," the description might include the target word count, key features to cover, and a link to the product changelog.
Comments
Comments are for ongoing conversation about a task. Here, you can ask a clarifying question, share a status update, or flag a blocker. The context stays attached to the task itself rather than buried in a Slack thread or email chain.
When you post a comment, you can @mention specific team members so they don't miss it. This makes Todoist a particularly useful project management app for small teams.
File attachments
You can attach documents, images, and other files directly to a task. Upload a creative brief, a contract PDF, or a spreadsheet of deliverables. Both Pro and Business plans support files up to 100 MB each. The more context you include upfront, the fewer interruptions and back-and-forth messages your team will have to juggle later.
Step 6: Delegate tasks to your team
Assigning tasks in Todoist is straightforward: Open a task, click the Assignee field, and then select a team member. Each task can have one assignee, which eliminates ambiguity about who's responsible.
When you need multiple people involved in the same piece of work, break it into sub-tasks and assign each one to the right person. For a product launch, you might assign:
"Write launch email" to your copywriter
"Design email template" to your designer
"Set up email automation" to your marketing operations lead
When you assign a task or @mention a team member in a comment, Todoist notifies the relevant person. Each person sees their assigned tasks in their Today and Upcoming views, alongside everything else on their plate.
You can invite external collaborators like freelancers, agency partners, or clients as guests. As guests, they can only see the projects they're invited to, not your entire workspace. On the Business plan, you can invite up to 1,000 guests at no additional cost.
Step 7: Set due dates and deadlines
Due dates and deadlines serve different purposes in Todoist. Using both gives you a more realistic picture of your timeline.
Due dates are when you plan to work on a task
Deadlines are when the task absolutely must be finished
For example, you might set a due date of Monday for a "Draft launch announcement" task because that's when your writer plans to start. Then you might set a deadline for Wednesday, since the draft needs to be ready for review by then.
Todoist's natural language recognition makes scheduling fast. Type "Draft launch announcement Monday" when adding a task to apply the date.
Forrecurring work, like a weekly status update or a standing review meeting, type something like "every Friday at 10am." The task will appear on your to-do list on a recurring basis.
Step 8: Prioritize your most important tasks
Todoist uses four color-coded priority levels, from p1 through p4. You can set a priority when creating a task or change it later.
Priorities become most useful when your team assigns them together during project planning. This approach forces everyone to decide which tasks are essential versus which are nice to have.
For example, here's how priority levels might look for a product launch:
P1 (must happen): Finalize pricing page, complete QA testing, get legal sign-off. These are on the critical path. If they slip, you miss the launch date.
P2 (important): Write launch blog post, prepare customer support FAQ, design social assets. This is all important work, but there's more flexibility in timing.
P3 (if time allows): Record product demo video, create sales one-pager. These are great to have, but won't block the launch.
P4 (reconsider): Translate launch page into three additional languages. They're worth capturing, but may not happen this cycle.
To set a priority, click the flag icon on any task or type p1, p2, p3, or p4 when using Quick Add. Todoist's natural language recognition picks up priorities from task names. So, you can type something like "Finalize pricing page tomorrow p1" to apply any priority level you choose.
Step 9: Use time blocking to plan project work
Setting due dates and deadlines clarifies what needs to happen when.Time blocking tells you when during the day you'll do it and whether you have enough hours in the day.
Todoist'scalendar layout is designed for time blocking. Open your Today or Upcoming view, click Display, and switch to the calendar layout. You'll see a week or month view with time slots.
From here, drag tasks from the right sidebar into specific time slots on your calendar. Todoist automatically adds a time and a default duration. To adjust how long a task should take, drag the bottom edge of the task block up or down.
You can also set durations using natural language. For example, "Review proposal tomorrow at 2pm for 90 minutes" schedules the task with the time and duration already set.
If you've connected Google Calendar or Outlook Calendar to Todoist, your existing meetings and events appear alongside your tasks. You can see where you have gaps between meetings and plan accordingly, rather than discovering that you're already booked when it's too late.
Step 10: Monitor your progress
Once the project is underway, you'll want a way to check whether things are moving forward as planned without scheduling another status meeting.
For individual contributors, the simplest signal is the Today view. Open it each morning to see every task due that day across all your projects, sorted by priority. Check off what you complete, reschedule what you can't get to, and pay attention if you're consistently pushing tasks to tomorrow.

For team leads and managers, Todoist's Business plan offersProject Insights, a set of metrics that update automatically based on your team's activity. Open a team project and click the Insights button in the upper right. You'll see:
Project health: An automatic assessment (Excellent, On Track, At Risk, or Critical) calculated from task completions, overdue items, and momentum. This shows you where the project is at a glance, eliminating the need for manual status updates.
Progress tracking: A visual bar showing what percentage of the project's tasks are complete, with a breakdown of completed versus open tasks. This helps you assess how far along the project is.
Completed tasks: A look at tasks your team recently checked off. This reveals what your team has already accomplished.
Task assignments: A view of who's working on what. This lets you spot if someone's overloaded before it becomes a problem.
Team Activity, available from the three-dot menu on any team project, gives you an easy way to check in on your team's workload. It shows active tasks, overdue tasks, and completed work, broken down by team member.
You can also create team filters to build custom views of your team's work. For example, a filter like workspace: Design & overdue shows every overdue task across all design projects. These filters are shared across the team, simplifying task management.
Step 11: Close out completed projects
When you've checked off the last task, resist the urge to move on without wrapping up the project. Take a few minutes to close out the project properly.
Archive the project to remove it from your active sidebar without deleting it. Archived projects are still searchable, and you can review their tasks, comments, and history at any time. To archive, click the three dots icon next to the project name and select Archive.
If you ran into recurring issues (missed handoffs, unclear briefs, scope that kept growing), note them in a project comment before archiving. This gives you valuable context the next time you run a similar project.
Bonus: Design reusable project templates
If your team runs the same type of project repeatedly (monthly reports, client onboarding sequences, product launches), consider building aproject template so you're not starting from scratch each time. Use Todoist to set up a project with all the sections, tasks, and sub-tasks that apply every time. Include descriptions with standard instructions and links to resources.
To turn it into a template, click the three dots icon and select the option to Save as template. Your templates are stored in the Todoist template gallery under "My templates," ready to use whenever you need them.
On the Business plan, templates are shared across your team workspace. Anyone on the team can import a template to start a new project preloaded with the right structure.
This is especially useful for onboarding new team members. Instead of explaining your process from scratch, hand them a template and let the tasks guide them through it.
Ready to get started with project management in Todoist? Here’s where to begin:
Create a new project
Establish project phases
Add project tasks
Make work actionable with sub-tasks
Insert task details
Delegate tasks to your team
Set due dates and deadlines
Prioritize your most important tasks
Use time blocking to plan project work
Monitor your progress
Close out completed projects
Design reusable project templates
Todoist project management works best when you build the habit gradually. Pick one real project your team is working on right now, set it up using the steps above, and check in after a week or two. You can always adjust your sections, priorities, and workflows as you learn what fits.
If your team is already on Todoist, you canset up a team workspace and start collaborating today. If you're evaluating tools,start for free and test the team features before upgrading to Pro or Business.
Anna Sonnenberg
Anna Sonnenberg is a writer, editor, and strategist with over a decade of experience creating content for B2B SaaS companies like Agorapulse, Komodo, and Relato. As a seasoned freelancer managing a dynamic client roster, she's always testing productivity and time management tactics.